

Many businesses start with webmail accounts provided by hosting services like cPanel, Roundcube, or Horde. While webmail works initially, it lacks professional collaboration tools, security, and scalability.
Migrating to Office 365 (Microsoft 365) gives businesses professional email, integrated collaboration tools (Teams, OneDrive, SharePoint), advanced security, and centralized management.
At Workspace King, we help businesses migrate their webmail emails to Office 365 safely, efficiently, and without any data loss.
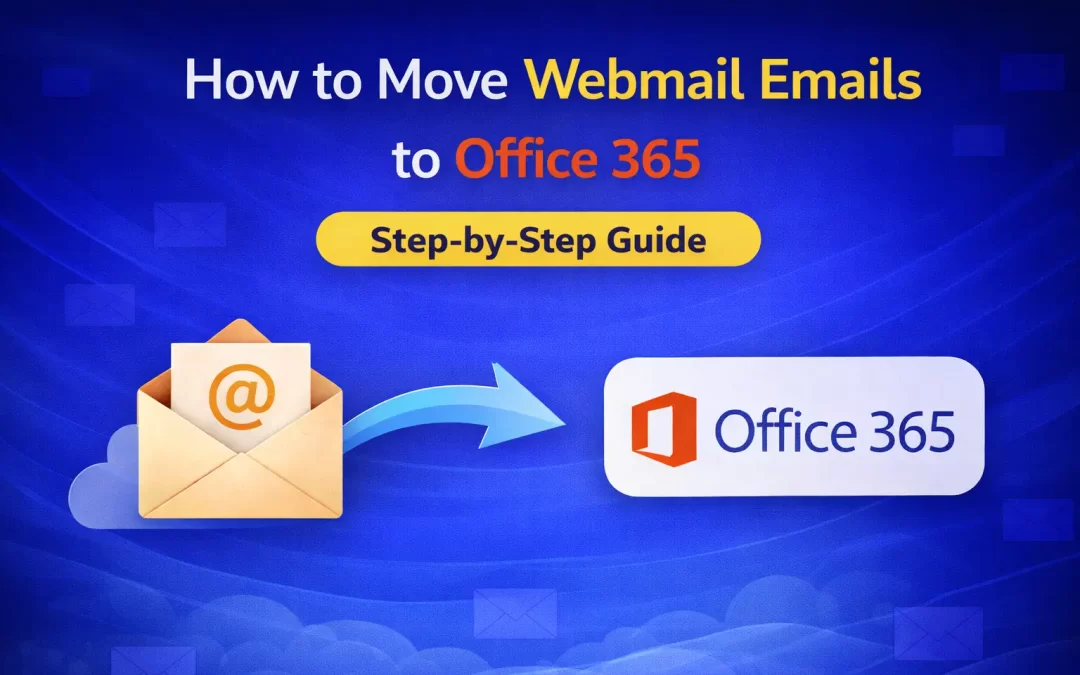
Why Move Webmail Emails to Office 365?
Businesses switch to Office 365 for several reasons:
- Professional branding: Use emails with your domain name.
- Better security: Advanced spam filtering, encryption, and multi-factor authentication.
- Collaboration tools: Microsoft Teams, OneDrive, SharePoint, and Outlook integration.
- Centralized management: Easy control of user accounts and permissions.
- Scalability: Perfect for growing businesses of all sizes.
What You Need Before Migration
Before starting the migration, ensure you have:
- Office 365 subscription with your domain verified.
- User accounts/mailboxes created in Office 365.
- Webmail IMAP details (server, port, SSL/TLS).
- Login credentials for all webmail accounts.
- Backup of emails (optional, but recommended).
Workspace King always performs a pre-migration check to prevent any issues.
Step-by-Step Guide to Move Webmail Emails to Office 365
Step 1: Verify Your Domain in Office 365
- Log in to the Microsoft 365 Admin Center.
- Add your domain and verify it using a TXT or MX record in your DNS settings.
Step 2: Create User Mailboxes
- Create all user accounts in Office 365 corresponding to your webmail accounts.
- Ensure email addresses and aliases match the existing ones.
Step 3: Collect Webmail IMAP Details
You will need:
- IMAP server address
- Port number
- SSL/TLS encryption type
- Email login credentials
These are usually available in your hosting control panel.
Step 4: Use the Office 365 Migration Tool
- Log in to Microsoft 365 Admin Center → Setup → Data Migration.
- Select Email and choose IMAP migration as the source.
- Enter your webmail server details and credentials.
- Map source mailboxes to Office 365 mailboxes.
- Start the migration.
Office 365 securely copies emails, preserving folder structure, timestamps, and attachments.
Step 5: Monitor Migration Progress
- Migration runs in the background.
- Monitor progress and resolve any errors that appear.
Step 6: Update MX Records
After migration, update your domain’s MX records to ensure all new emails are delivered to Office 365.
Step 7: Final Sync and Testing
- Perform a final sync to capture any emails received during migration.
- Test sending and receiving emails in Outlook or Office 365.
Workspace King ensures this process is seamless with zero downtime for your team.
Common Challenges and Tips
- Incorrect IMAP settings: Always verify server, port, and encryption.
- Large mailboxes: Migrate in batches for efficiency.
- Duplicate emails: Proper sync configuration avoids duplicates.
- Missed folders: Perform a test migration first.
Professional support helps avoid these issues entirely.
Why Choose Workspace King?
Workspace King provides complete end-to-end support for webmail to Office 365 migration:
- Secure IMAP email migration
- MX record setup and domain configuration
- Zero data loss and minimal downtime
- Post-migration support and user training
We handle the technical process so businesses can continue working without interruptions.
Conclusion
Migrating from webmail to Office 365 ensures a professional, secure, and scalable email system. Office 365 also provides integrated collaboration tools, advanced security, and centralized administration.
At Workspace King, we specialize in webmail to Office 365 migration, ensuring all emails, folders, and attachments are transferred securely and efficiently, with no downtime for your business.